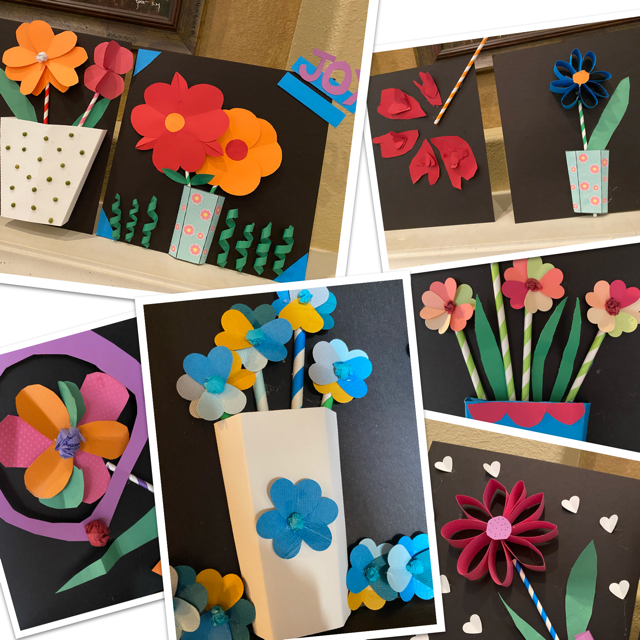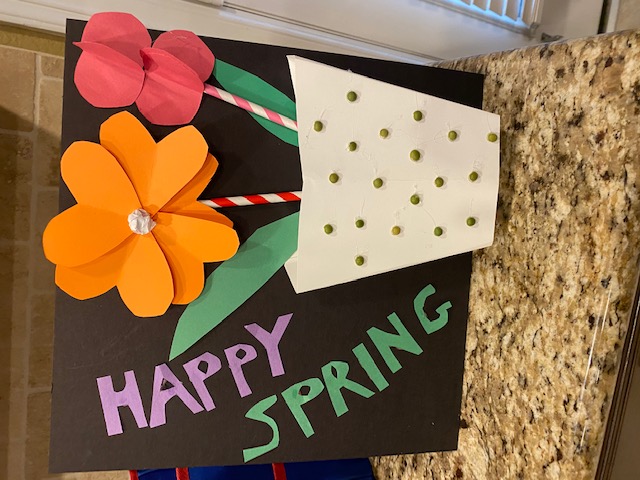
“Let’s make paper flower bouquets!” I said to my kiddos as I walked through the house shutting off electronic devices. Nobody was in the mood to do crafts, but I threw us all into it, and it worked!
A handful of art supplies is sometimes all that’s needed to bring the family together. I had already pulled out the construction paper, card stock, scissors, glue, and this heart-shaped hole punch I found on Amazon [ad]. In the end, the whole family (including Dad) enjoyed a creative art session that lasted several hours in the kitchen. Hours after most of us were finished, my teen and pre-teen continued to work, determined to bring their visions to life.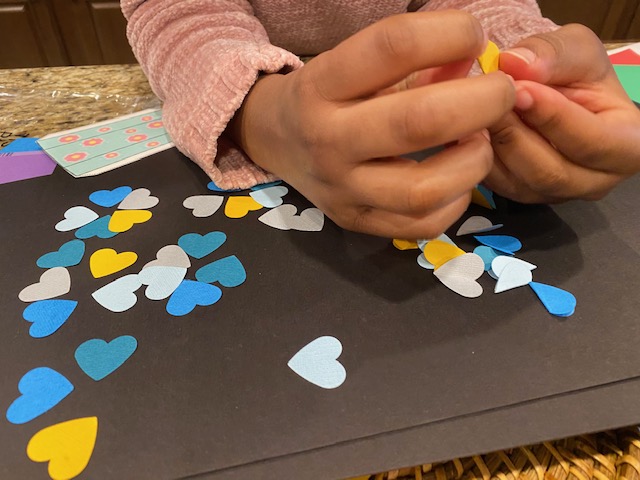
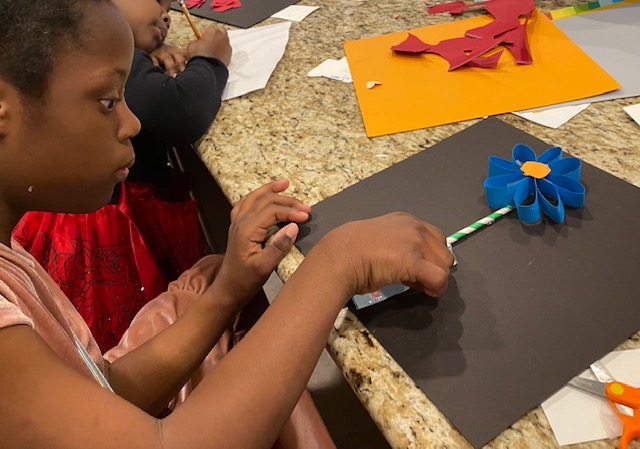
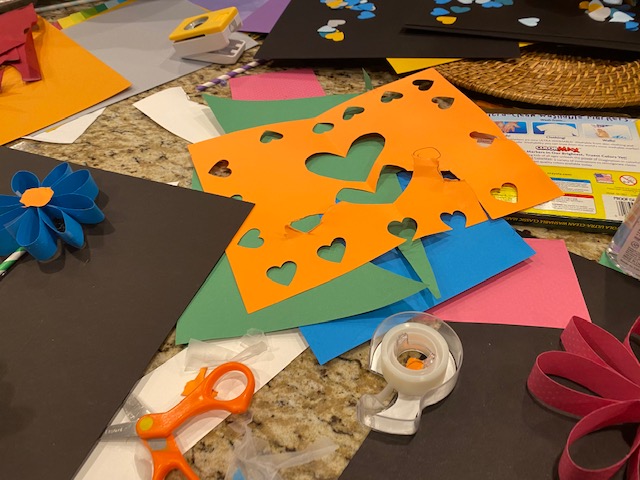
Here’s how you can organize a paper flower creating session for you crew:
1 - Pull out the art supplies you already have on hand - colorful paper, crayons / markers, glue or tape, etc. If you want strong, sturdy flowers, consider buying card stock. We also found it useful to emply a hot glue gun from time to time.
2 - Find a backdrop for your artwork. You can use the side of an old corrugated box or even a cereal box. I happened to have some of these black chipboard sheets I found on Amazon [ad] leftover from a previous project. They’re rigid and sturdy, and the black color allows the colors of the flowers to pop.
3. Find inspiration online. I googled “paper flower bouquets” and found all sorts of images. You may be able to find a template, but I showed my girls some photo examples and we used our creative license to figure it out ourselves. We cut out and folded trapezoidal shapes to serve as vases.
4. Make easels so your creations can stand up. There are tried-and-true methods for easel-making, but I used a single sheet of card stock folded in thirds, taped, then hot glued to the back of each art piece. It doesn’t look good, but it works, and nobody will see the easels anyway.
5. Display for all to enjoy!


